Helpful Advice on How to Paint Trim in Littleton, CO
5 min read
How to paint trim is one of the first questions many homeowners ask during interior house painting in Littleton, CO. Trim frames every corner, window, and doorway, and when it looks sharp, the entire home feels more finished. Even if your walls are painted beautifully, dingy, chipped, or uneven trim can ruin the effect. That’s why so many homeowners turn to a professional house painter to handle this detail instead of trying to paint the trim themselves.
Key Takeaways
- Fresh trim adds instant polish and makes interior house painting look neat, stylish, and complete.
- Proper preparation, sanding, and caulking prevent problems like bubbling, peeling, and uneven lines.
- The right trim paint, brush, and technique make results smoother and more durable over time.
- Hiring an interior house painter saves time and keeps you from dealing with messy mistakes.
- Helix Painting provides trusted interior house painting in Littleton, CO, and the nearby Colorado suburbs.
Why Trim Shapes the Look of Your Home
When you walk into a freshly painted room, the walls matter, but the sharp lines around the trim make the room stand out. Trim is like the finishing edge of a piece of artwork. If it’s scuffed or uneven, the whole space feels unfinished.
I’ve seen this firsthand. One homeowner in Littleton spent two weekends trying to paint the trim in their dining room. They struggled with uneven lines, dried drips, and painter’s tape that ripped away wall paint. They eventually called us to fix it, and afterward said they wished they’d hired a professional house painter right away. Details like trim separate average results from a professional finish.
The Best Brushes and Trim Paint Options
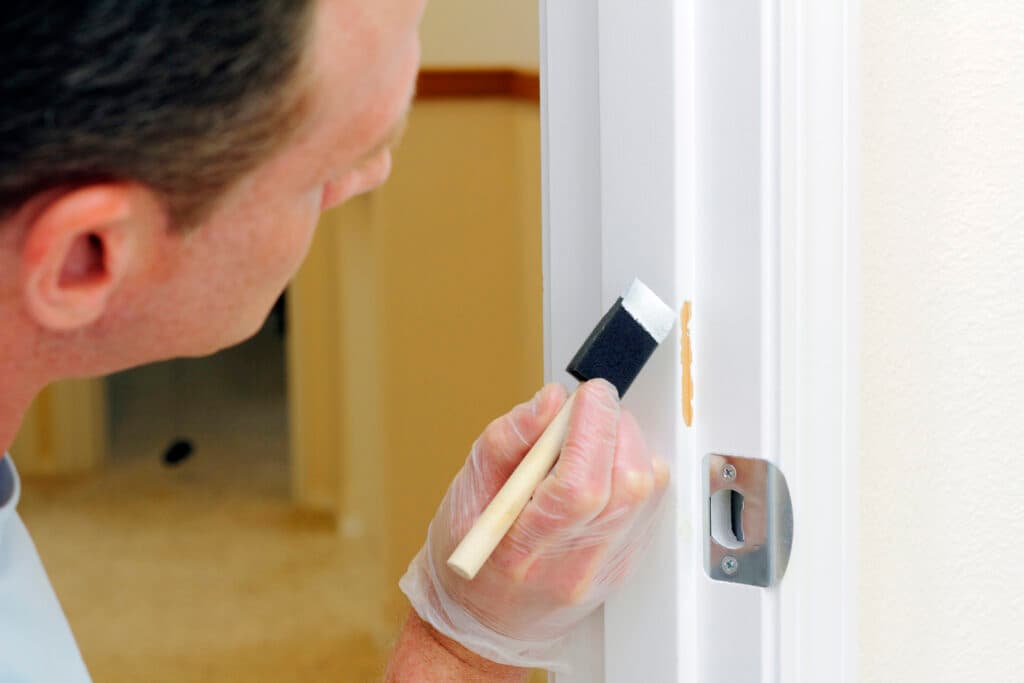
When considering how do you paint trim, the right tools, like a brush, make all the difference. A two-inch angled sash brush is the most reliable option because it allows you to cut in edges smoothly. Flat, wide brushes may seem efficient, but they often leave streaks.
For trim paint, latex water-based options are recommended. They dry faster, clean up with water, and have less odor. Semi-gloss or satin finishes are popular because they’re easy to wipe down and resist wear. Flat finishes should be avoided on trim, since they collect dirt and show flaws. Durable finishes keep trim looking sharp even in busy rooms like kitchens, living rooms, and bathrooms.
Supplies You’ll Need Before Painting
Here’s a simple list of what most interior house painters use:
Two-inch angled brush
** Putty knife**
Sanding sponge (100–150 grit)
Painter’s tape
** Drop cloths**
Microfiber cloths
** Latex trim paint**
Primer (for bare wood or dark-to-light changes)
Caulk
Wood filler
Plastic sheeting or masking paper
Cleaning solution or diluted TSP
Having the right supplies ready keeps the process organized and avoids delays.
Step-by-Step: How to Paint Trim
Step 1: Protect the Space
Lay down drop cloths to cover your floors. For baseboards, tape masking paper to the floor edge. Shift furniture away so you have space to paint the trim.
Step 2: Repair Imperfections
Patch dents and holes with wood filler. Once dry, sand them until smooth.
Step 3: Smooth the Surface
Sand glossy areas so the paint will stick properly. Focus on repaired spots and any rough edges.
Step 4: Clean Thoroughly
Dust and oils stop paint from adhering. Wipe the trim with microfiber cloths and use a TSP mix for greasy spots. Clean the adjoining walls so tape holds tightly.
Step 5: Caulk Gaps
Caulk any cracks where the trim meets walls or ceilings. A smooth bead of caulk makes the edges seamless.
Step 6: Tape Neatly
Painter’s tape defines edges. Press tape down firmly so no paint bleeds underneath.
Step 7: Prime if Needed
Bare wood, stained trim, or drastic color changes call for primer. This helps paint bond and improves coverage.
Step 8: First Coat
Dip only the tip of your brush into paint. Use long strokes that follow the trim’s length.
Step 9: Second Coat
Once the first coat is dry, apply a second. This ensures an even finish and longer durability.
Step 10: Remove Tape
Pull the tape off slowly at a slight angle. Doing this carefully leaves crisp, sharp edges.
Tips for Painting Trim with Less Stress
A few simple adjustments can make the project smoother and more professional-looking.
- Load the brush lightly so you don’t end up with messy drips.
- Cut tape with a putty knife for straighter edges.
- Trim caulk tips at an angle for smoother application.
- Work in smaller sections to keep a wet edge and avoid streaking.
- Choose high-quality trim paint so the results last longer.
Small changes like these can transform trim from sloppy to sharp. Knowing these tricks makes the entire process feel easier and the outcome much better.
Why Hiring an Interior House Painter Is Worth It
Many homeowners ask: how do you paint trim without making a mess? The truth is that while anyone can buy trim paint, it takes skill and practice to deliver professional-looking results. A professional house painter saves you time and avoids common errors like uneven lines or paint splatters. Experienced painters know how to prep, tape, and paint the trim properly.
One family in Denver tried painting their trim themselves and ended up spending more time scraping dried drips off their hardwood than painting. An interior house painter handles these challenges from the start, saving you stress and hours of cleanup.
Why Fresh Trim Completes the Room
Trim gives your home the finishing touch it deserves. From prepping to the second coat, every step matters to the final outcome. If you’re still asking how to paint trim without dealing with frustration, working with a professional house painter is the best choice. The right process makes trim look polished and pulls the entire room together.
That’s where Helix Painting comes in. We specialize in interior house painting in Littleton, CO and the surrounding areas. Our team delivers detailed work, sharp lines, and clean results that make homes look their best.
Ready to give your trim a professional finish? Call Helix Painting at 720-741-6041 today for a FREE estimate. We proudly serve homeowners in Littleton, CO, Louisville, CO, Castle Rock, CO, and the surrounding Colorado suburbs.