How to Fix Chipped Paints the Best Way
5 min read
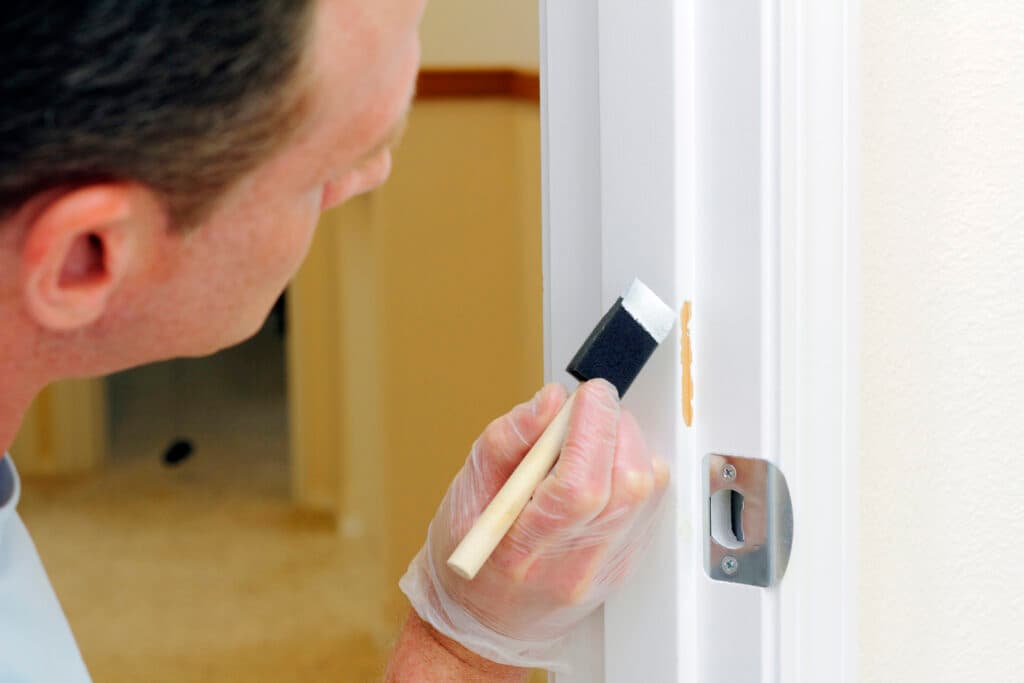
If you’re looking for how to fix chipped paints during interior house painting in Louisville, CO, you’re already taking the right step. Chipped paint might seem like a minor issue, but it can quickly make an otherwise clean and updated space feel worn down. Whether it’s from backpacks grazing the hallway wall or furniture bumping into corners, these little blemishes show up fast.
You don’t need to repaint the entire room just to hide a few imperfections. With the right tools and a little care, you can handle small chips and dings like a pro—and save yourself a lot of hassle in the process.
Key Takeaways
- Most chips happen because of moisture, impact, or skipping prep work.
- You can fix chips without repainting entire rooms or calling a crew for small jobs.
- A putty knife, spackle, and sandpaper are the tools you’ll rely on the most.
- The better your prep, the better your patch will disappear into the wall.
- A professional house painter can make quick work of widespread or difficult repairs.
Why Your Wall Paint Might Be Chipping
Chipped paint happens more than you’d expect. Whether it’s heavy furniture, daily foot traffic, or leftover humidity from long Colorado showers, it wears away over time.
I remember a project we did in a home off Main Street in Louisville. The client had painted their bathroom just a year earlier, but the paint around the tub was peeling badly. Turns out, it wasn’t mildew-resistant paint and they’d skipped the primer. The chip repair took about 45 minutes. The moisture problem, though? That needed a full reset.
The usual causes of chipping include:
Furniture pressing or rubbing against walls
Moisture from steam or temperature swings
Walls that weren’t properly cleaned or sanded
No primer or low-quality primer
Applying paint too thick or too quickly
Before You Start: What You’ll Need
Gather everything first. That way, once you start, you won’t have to stop to grab something halfway through.
Tools
- A 2-inch and a 4-inch putty knife
- Medium and fine-grit sandpaper
- Wire brush
- Paintbrush
- Lint-free or microfiber cloth
Materials
- Lightweight spackle or joint compound
- Primer for walls
- Matching wall paint
- Painter’s tape
- Plastic drop cloth or sheeting
Lightweight spackle is best for shallow chips. It dries fast and sands down smoothly for a barely noticeable finish.
How to Fix Chipped Paints the Right Way
This process works for one chip or a handful across the same wall. If you’ve been wondering how to fix chip in wall sections without making things worse, this is it.
1. Start by Clearing and Covering
Begin by removing any outlet covers, hanging pictures, or nearby decorations from the wall you’re repairing. Use painter’s tape to protect trim, baseboards, or any adjoining surfaces. Lay a plastic drop cloth across the floor to catch paint chips and dust. Prepping properly now means less cleanup later.
2. Remove Any Loose Paint
Use a wire brush or the flat edge of your putty knife to carefully scrape away any loose or peeling paint around the chip. Be gentle to avoid damaging the drywall underneath. Focus on removing just the sections that are already compromised or flaking away easily.
3. Use Sandpaper to Smooth the Surface
Take a piece of medium-grit sandpaper and begin smoothing the edges of the chipped paint. Feather the edges so they taper gradually into the surrounding paint. This prevents a ridge from showing once new paint is applied, which helps your repair blend in better.
4. Apply the Filler Neatly
With your smaller putty knife, scoop a small amount of spackle or joint compound and press it into the chip. Work it in thoroughly so there are no gaps or air pockets. Smooth it out so that the surface of the filler is flush with the surrounding wall.
5. Feather With a Wider Blade
Now grab your 4-inch putty knife and gently glide it over the patched spot in multiple directions. Feathering helps the patch blend naturally into the rest of the wall. Let it overlap the surrounding area just slightly so the final result looks seamless.
6. Let It Fully Dry
Give the filler at least one hour to dry, although deeper patches may need more time. Check by lightly pressing the area with your finger—if it feels cool or gives under pressure, it needs more drying time before sanding.
7. Final Sand and Dust Removal
Once the filler is fully dry, use fine-grit sandpaper to carefully smooth the surface. Your goal is a finish that feels as smooth as the rest of the wall. After sanding, use a dry microfiber cloth to remove all dust before moving to the next step.
8. Prime the Area
Brush on a coat of primer that covers the entire patch and extends slightly beyond its edges. This helps the paint adhere evenly and avoids any dull or uneven spots once the paint dries. Let the primer dry completely before painting.
9. Paint and Blend
Apply your touch-up paint using a clean brush or roller, feathering the edges to help the new paint blend into the existing finish. Let the first coat dry, then assess if a second coat is needed for full coverage. Aim for a smooth, even finish.
How to Fix Chipped Paints So They Don’t Come Back
Now that you know how to fix chipped paints, let’s talk about how to avoid doing it again in six months. Prevention is simple:
Lightly sand glossy surfaces before painting
Clean the wall thoroughly to remove grease or dust
Use primer that fits your paint and surface type
Don’t overload your brush or roller
Add protective trim or rails in high-contact areas
One of our clients in Castle Rock had frequent chips in their stairwell. We installed a wainscot panel along the entire lower wall. Not only did it solve the problem, but it also looked sharp.
When a Professional House Painter Makes More Sense
If you’re fixing one small chip, you’re good to go. But if the paint chips are scattered across several rooms or your walls are textured, you might want to call a professional house painter.
Here’s when it makes sense:
- You have over five chips in one room
- The texture is hard to match
- You’re already thinking about new paint colors
An interior house painter has the tools and the skill to make the patch blend perfectly. They also work faster and cleaner, especially on larger projects.
Let Helix Painting Take Care of It
Chipped paint doesn’t need to be a permanent part of your home. Whether you’re handling a small fix or starting a new interior house painting project, Helix Painting can help. We serve homeowners in Denver, Littleton, Louisville, Castle Rock, Highlands Ranch, Parker, CO and the surrounding areas, with reliable service and clean results.
Call us today at 720-741-6041 for a FREE estimate. Let’s get your walls looking fresh again without the hassle.