Best Tips on How to Paint Textured Walls for a Professional Finish
5 min read
If you’ve been wondering how to paint textured walls while getting ready for interior house painting in Louisville, CO, you’re not alone. Textured walls can add charm and hide imperfections, but they also present unique challenges when painting. With the right tools, preparation, and method, you can refresh your walls while keeping their character intact.
I once helped a friend paint their living room with a heavy knockdown texture. At first, the paint looked patchy, and the roller skipped over the grooves. Switching to a thicker roller nap and slowing our pace changed everything — the finish became smooth, vibrant, and the texture popped beautifully.
Key Takeaways
- Use the right roller nap for better coverage and fewer missed spots.
- Clean the wall thoroughly for stronger paint adhesion.
- Tape edges carefully to achieve sharp, clean lines.
- Prime before painting to enhance color consistency and coverage.
- Work at a steady pace to avoid splatter and uneven application.
Preparing Your Walls Before Painting
Dust and dirt cling to textured surfaces. Start with a good cleaning using a vacuum with a brush attachment or a soft brush. For greasy areas, wash with a mild soap solution.
Choose your roller nap wisely. Light textures often work with 1/2-inch nap, while heavier textures like orange peel or knockdown need 3/4-inch. Avoid foam rollers, as they skim over the surface instead of filling the grooves.
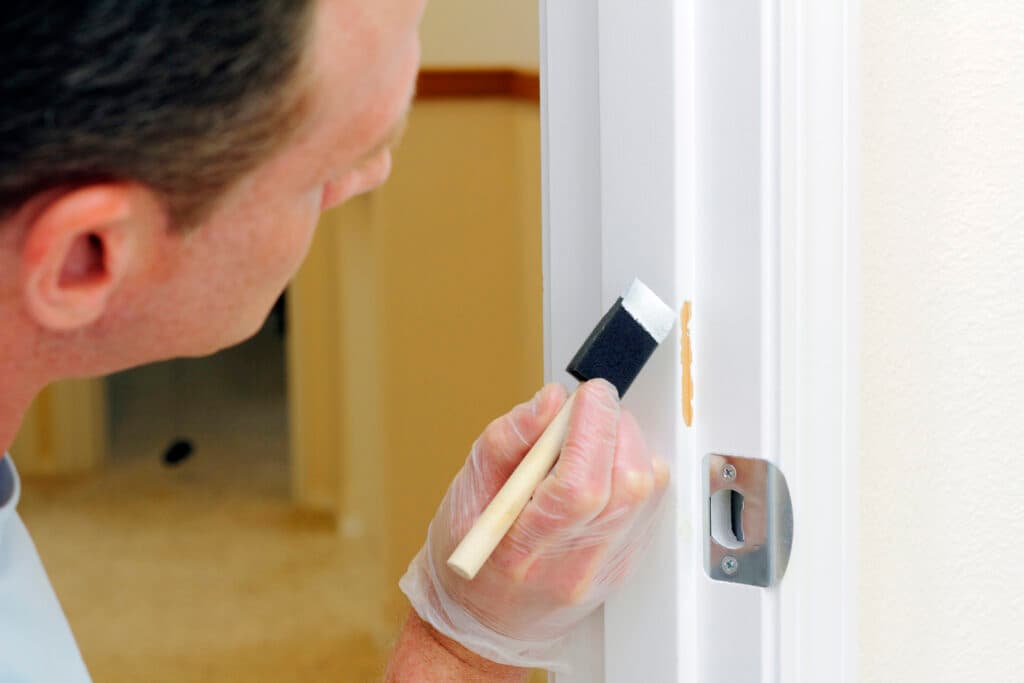
Remove outlet covers and switch plates, keeping screws in labeled bags. For minor dents or holes, use your finger to apply spackle or joint compound, blending it with the existing texture.
Tools and Materials Checklist
9-inch roller frame
1/2-inch or 3/4-inch nap roller cover
2-inch angled brush
Paint tray with liners
Flat-head screwdriver
Shop vacuum with brush attachment
Interior primer
Interior latex paint
Painter’s tape
Spackle or joint compound
Latex gloves
Having everything ready before you start keeps your project running smoothly.
How to Paint Textured Walls Step-by-Step
Taking the time to follow each step carefully will give you a more consistent finish and help preserve the unique look of your textured walls. Here’s a detailed breakdown to guide you through the process from start to finish.
1. Clean the Wall
Even if the wall appears fine at first glance, dust hides in the grooves and can prevent paint from adhering properly. Use a vacuum with a brush attachment or a soft-bristled brush to remove debris. For stubborn or greasy spots, lightly wash with a mild soap solution and allow to dry completely.
2. Remove Covers and Fixtures
Turn off the power to outlets and switches for safety before removing any hardware. Take off covers, switch plates, and light fixtures where necessary. Keep all screws and small pieces together in labeled containers so reinstallation is quick and frustration-free.
3. Patch and Mask
Inspect the walls for imperfections such as nail holes, dents, or cracks. Fill these areas with spackle or joint compound, blending with your finger so repairs match the surrounding texture. Apply painter’s tape along trim, windows, and doors, pressing the tape into the grooves to create a tight seal that prevents paint from bleeding.
4. Prime the Surface
Pour primer into a paint tray with a liner for easy cleanup. Work in manageable 4-foot sections, rolling slowly so the nap fills the textured areas. Check each section for drips or missed spots before moving on. Priming creates a uniform base that improves paint adhesion and coverage.
5. Cut In the Edges
Use an angled brush to paint corners, along ceilings, and around trim where rollers can’t reach. Use light, controlled strokes to prevent buildup and ensure smooth blending with roller-applied areas.
6. Apply the Paint
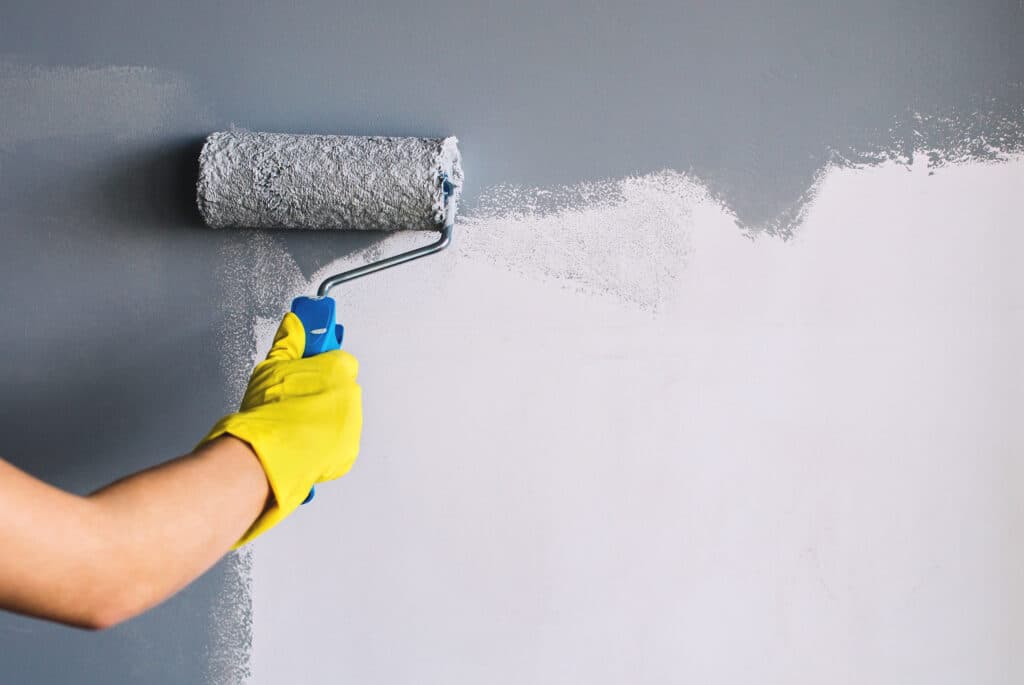
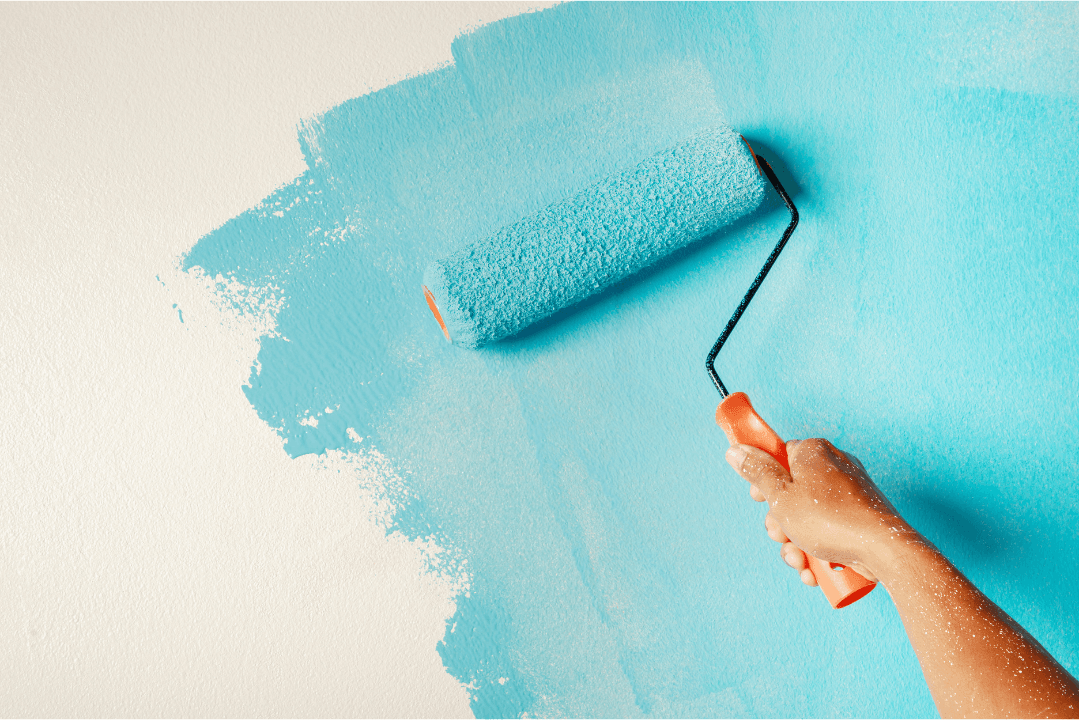
Replace the tray liner, pour in your chosen color, and load your roller evenly. Roll in overlapping sections to avoid visible lines and patchy coverage. Maintain a steady pace to keep the paint application consistent and reduce splatter.
7. Finish Edges and Remove Tape
Use your brush to touch up any missed spots near edges or corners. Remove tape while the paint is still wet to achieve crisp, clean lines, pulling it back at a 45-degree angle to prevent peeling fresh paint.
By taking your time with each of these steps, you’ll improve the overall look and durability of your interior house painting in Louisville, CO project, and create a finish you can be proud of.
How to Paint Textured Walls Like a Pro – Extra Tips
Before you finish your interior house painting in Louisville, CO, it’s worth taking a few extra steps that can make a noticeable difference in the outcome. These small adjustments can help you achieve smoother coverage, keep your texture intact, and make the end result more professional.
- Let the roller do the work without pressing hard so the nap can naturally reach into the texture.
- Seal tape edges with a small bead of paintable caulk to prevent bleed and keep lines sharp.
- Switch roller naps if you’re not getting full coverage; a thicker nap can make all the difference.
- Avoid sanding, which can flatten the texture and change the wall’s appearance.
- Dab paint into deep grooves with a brush for thorough coverage without overloading the surface.
By following these extra tips, you can produce results that not only look clean and even but also last longer, giving you the satisfaction of work that rivals any professional house painter’s finish.
Why Hire a Professional House Painter
Even if you know how to paint textured walls, the work can be time-consuming and physically demanding. A professional house painter brings experience, the right tools, and the ability to handle walls with textured paint without damaging the finish.
Hiring a pro for your interior house painting can save time and deliver a more polished result.
Helix Painting – Your Textured Wall Experts
Preparation, product selection, and careful application all influence the finished look. Helix Painting provides consistent, high-quality finishes that protect and highlight your wall’s texture.
Whether you’re repainting one room or your entire home, we proudly serve Louisville, Littleton, and Castle Rock, CO, and offer FREE estimates to help you plan.
Call 720-741-6041 today for your FREE estimate and let us bring out the best in your textured walls.